Rice Cooker Instruction Manual: A Comprehensive Guide
Navigating rice cooking is simplified with dedicated cookers, eliminating stovetop variables like burner levels and humidity, offering consistent, perfect results every time.
Understanding Your Rice Cooker
Delving into your rice cooker’s functionality begins with recognizing its core elements. Modern rice cookers, particularly those from brands like Zojirushi, utilize “Neuro Fuzzy” logic – a sophisticated system analyzing temperature and adjusting cooking parameters for optimal results. This contrasts with conventional models offering simpler on/off functionality.
Understanding these differences is crucial. A typical cooker comprises an inner pot, heating element, control panel, and steam vent. The inner pot’s material impacts heat distribution, while the control panel dictates settings for various rice types and functions. Familiarizing yourself with these components unlocks the cooker’s full potential.
Components of a Typical Rice Cooker
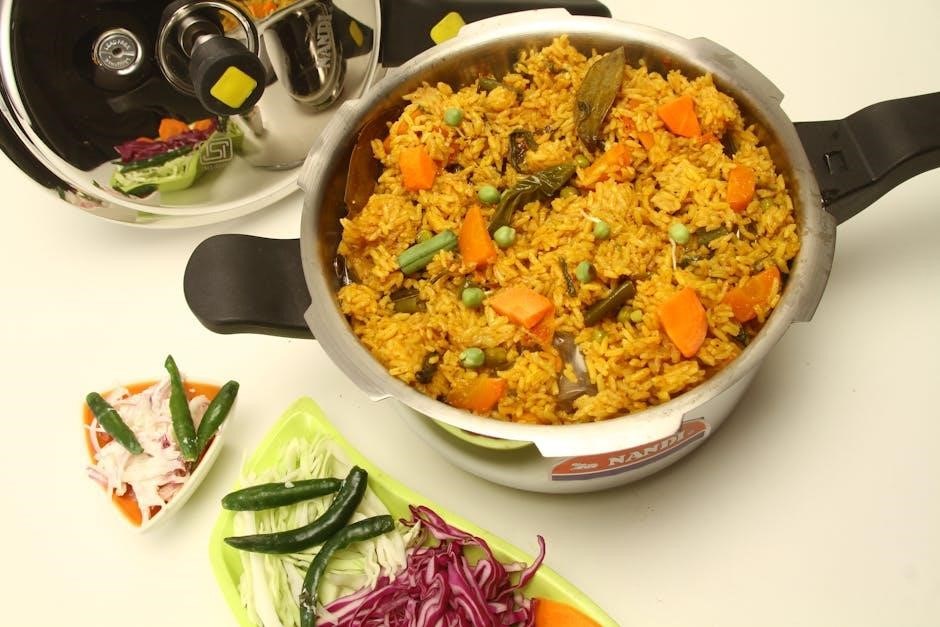
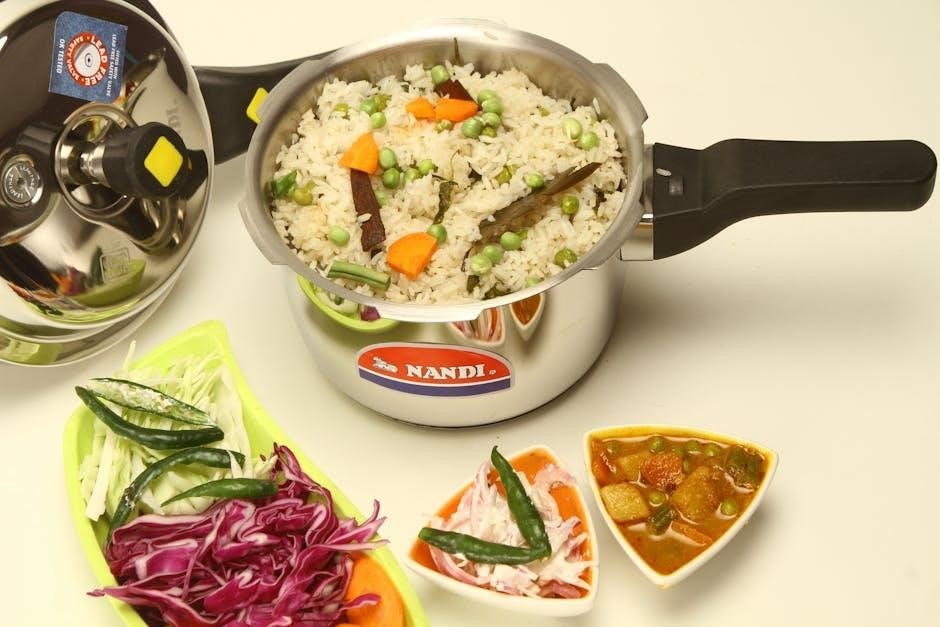
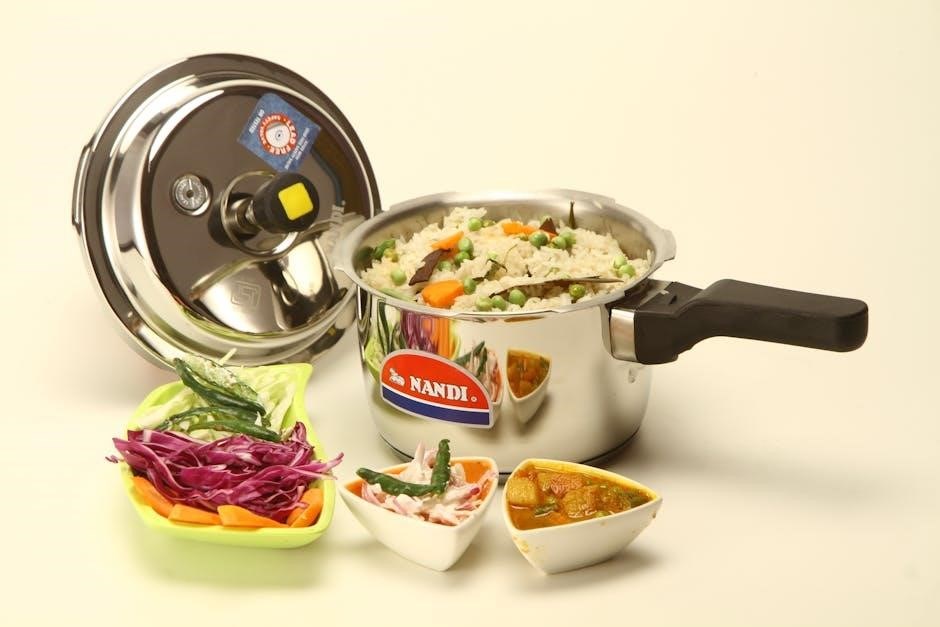
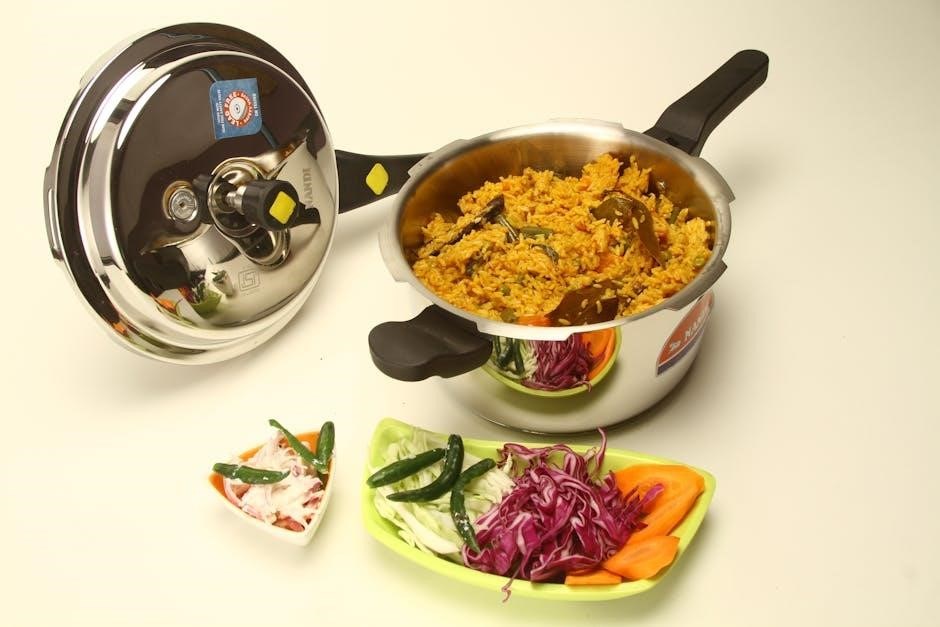
A standard rice cooker features several key parts working in harmony. The inner pot, often non-stick coated, holds the rice and water, directly interacting with the heating element below. This heating element provides consistent, even heat for optimal cooking. Above, the lid creates a sealed environment, trapping steam essential for the process.
The control panel allows users to select settings, while the steam vent releases excess moisture. Many models include a measuring cup and spatula for accurate portions and serving. These components, when understood, contribute to consistently perfect rice.
Types of Rice Cookers: Conventional vs. Fuzzy Logic
Rice cookers broadly fall into two categories: conventional and fuzzy logic. Conventional cookers utilize a simple timer and thermostat, switching to “warm” mode after a set time. They are generally more affordable but offer less precision.
Fuzzy Logic cookers, however, employ a microprocessor to monitor temperature and adjust cooking time and temperature accordingly. This “fuzzy” logic adapts to different rice types and quantities, resulting in superior texture and consistency. They offer advanced features and are ideal for discerning rice enthusiasts.
Getting Started: Initial Setup
Before your first delightful meal, proper setup is crucial. Begin by carefully unpacking your rice cooker and removing all packaging materials. Inspect the unit for any visible damage. Familiarize yourself with all components – the inner pot, steam vent, measuring cup, and spatula.
It’s essential to understand the control panel’s functions. Refer to the diagrams in this manual to identify each button and indicator light. A thorough initial setup ensures optimal performance and longevity of your new appliance.
Before First Use: Cleaning and Preparation
To guarantee a pristine cooking experience, a thorough cleaning is paramount before initial use. Remove the inner pot and wash it with warm, soapy water. Rinse completely and dry. Wipe down the interior of the cooker with a damp cloth, avoiding the heating element.
The lid and steam vent should also be washed and dried. This process removes any manufacturing residue and ensures food tastes pure and delicious. Proper preparation sets the stage for consistently excellent results.
Understanding the Control Panel & Indicators
Familiarizing yourself with the control panel is key to unlocking your rice cooker’s potential. Most models feature buttons for “Cook,” “Warm,” and sometimes specialized settings for different rice types. Indicators illuminate to show the current cooking stage – pre-heating, cooking, or warming.
Pay attention to any error codes displayed, as these signal potential issues. A clear understanding of these controls ensures precise operation and optimal cooking performance, delivering perfectly cooked rice every time.
Cooking Rice: Basic Instructions
Achieving fluffy, delicious rice is surprisingly simple with a rice cooker. Begin by selecting the appropriate rice type setting, if available. Precise rice-to-water ratios are crucial; generally, a 1:1 ratio works well for white rice, but consult your cooker’s guide.
Once measured, add rice and water to the inner pot, close the lid securely, and press the “Cook” button. The cooker will automatically switch to “Warm” when finished, keeping your rice at the perfect serving temperature.
Measuring Rice and Water Ratios
Precise measurements are key to perfectly cooked rice. While a 1:1 rice-to-water ratio often suits white rice, variations exist. Use the provided measuring cup for accuracy; avoid standard kitchen cups. For fluffier results, slightly reduce water.

Different rice types demand adjustments – brown rice typically requires more water. Always refer to your rice cooker’s manual for specific recommendations. Experimenting slightly can help you achieve your preferred texture, but start with the suggested ratios.
Cooking White Rice: Step-by-Step Guide
Begin by rinsing the rice under cold water until the water runs clear, removing excess starch. Add the measured rice and water to the inner pot. Secure the lid, ensuring a proper seal. Select the “White Rice” setting on your cooker.
Press “Start” and allow the cooker to complete its cycle. Once finished, let the rice rest, covered, for 10-15 minutes. Gently fluff with the provided spatula before serving, enjoying perfectly cooked, fluffy white rice.
Advanced Cooking Features
Modern rice cookers offer versatility beyond basic white rice. Explore settings for brown rice, requiring adjusted water ratios and longer cooking times for optimal texture. Utilize the steaming function with the included basket for vegetables or delicate proteins.
Fuzzy Logic technology intelligently adjusts cooking parameters, ensuring consistent results regardless of rice type or quantity. Some models include porridge or slow cook settings, expanding culinary possibilities beyond traditional rice preparation.
Cooking Brown Rice: Adjusting Settings
Brown rice demands specific attention due to its bran layer, requiring more water and a longer cooking cycle than white rice. Typically, a 1:2 or 1:2.5 rice-to-water ratio is recommended, but consult your cooker’s manual.

Select the “Brown Rice” setting if available; otherwise, use the “Regular” setting and increase cooking time by approximately 10-15 minutes. Allowing the rice to steam for 10 minutes after cooking completes enhances fluffiness and ensures even moisture distribution.
Steaming Vegetables and Other Foods
Many rice cookers offer steaming capabilities, utilizing the steam generated during the cooking process. A steam basket, often included as an accessory, sits above the rice, preventing direct contact with the boiling water.
Add water to the inner pot – typically up to the designated steam line – then place the vegetables or other food in the basket. Cooking times vary depending on the food; softer vegetables require less time than root vegetables. Ensure adequate water levels throughout steaming.
Specialty Rice Varieties
Beyond standard white rice, your cooker excels with diverse grains. Jasmine rice benefits from slightly less water for a fluffy texture, while Basmati requires careful measurement to avoid stickiness.
Experiment with brown rice, quinoa, or even porridge settings if available. Each variety demands adjusted water ratios and potentially different cooking cycles. Refer to package instructions as a starting point, then fine-tune based on your cooker and preference for optimal results.
Cooking Jasmine Rice: Achieving Fluffy Texture
Jasmine rice, known for its floral aroma, requires a delicate touch. Use a slightly reduced water ratio – typically 1.25 cups of water per 1 cup of rice – to prevent a sticky outcome.
After cooking, let the rice stand, covered, for 10-15 minutes. Gently fluff with a spatula to separate the grains. This resting period allows steam to redistribute, resulting in beautifully separated, fragrant, and fluffy jasmine rice, perfect for any meal.
Cooking Basmati Rice: Preventing Stickiness
Basmati rice, prized for its long grains and subtle flavor, can become sticky if not cooked correctly. Rinse the rice thoroughly under cold water until the water runs clear – this removes excess starch.
Use a 1:1.5 rice-to-water ratio. After the cooking cycle completes, allow the rice to rest, covered, for 5-10 minutes. Gently fluff with a fork, avoiding mashing the grains, to achieve perfectly separated, light, and fluffy basmati rice.
Maintenance and Cleaning
Regular cleaning extends your rice cooker’s lifespan and ensures optimal performance. After each use, promptly remove the inner pot and wash it with warm, soapy water. The lid, including the steam vent, should also be cleaned to prevent buildup.
Wipe the exterior with a damp cloth. Avoid abrasive cleaners. Ensure all parts are thoroughly dry before reassembling. Consistent maintenance prevents odors and ensures consistently delicious rice for years to come.
Cleaning the Inner Pot and Lid
The inner pot requires gentle handling to maintain its non-stick coating. After cooling, hand wash with warm, soapy water and a soft sponge; avoid abrasive scrubbers. The lid, often removable, should also be washed similarly, paying close attention to the steam vent to remove any starch residue.
Ensure both are completely dry before reassembling. Some lids are dishwasher safe – check your model’s manual. Regular cleaning prevents sticking and ensures hygienic operation.
Cleaning the Exterior and Steam Vent
The rice cooker’s exterior should be wiped down with a damp cloth after each use to remove splatters and spills. Avoid harsh chemicals or abrasive cleaners, as they can damage the finish. Pay special attention to the steam vent, as starch buildup can occur.
Use a small brush or toothpick to carefully clear any blockages in the vent, ensuring proper steam release during cooking. A clean exterior and vent contribute to longevity and performance.
Troubleshooting Common Issues
Encountering problems? Mushy rice often indicates too much water; reduce the water ratio slightly next time. Conversely, hard rice suggests insufficient water – increase it gradually. If the cooker won’t turn on, check the power cord connection and ensure the outlet is functioning.
Confirm the lid is securely closed, as many models have a safety lock. Persistent issues may require contacting customer support for assistance.
Rice is Too Mushy or Too Hard
Achieving perfect rice texture requires balance. If your rice is consistently mushy, decrease the water-to-rice ratio incrementally – start with a tablespoon less water. For hard rice, add a tablespoon of water and retry. Remember, different rice varieties need varying water amounts.
Consider the cooker’s age; older models may require adjustments. Consistent issues suggest a potential calibration problem needing professional attention.
Rice Cooker Won’t Turn On
If your rice cooker fails to power on, first verify the power cord is securely plugged into both the cooker and a functioning outlet. Test the outlet with another appliance to confirm it’s delivering power. Check the cooker’s internal fuse or circuit breaker – some models have a reset button.
If problems persist, avoid self-repair; contact qualified service personnel for assistance to prevent electrical hazards.

Safety Precautions
Always prioritize safety when using your rice cooker. Never immerse the appliance, cord, or plug in water or other liquids to prevent electric shock. Ensure the cooker is placed on a stable, heat-resistant surface away from flammable materials. Avoid touching hot surfaces, utilizing handles and knobs instead.
Unplug the cooker when not in use and before cleaning. Supervise children closely when the appliance is operating.

Electrical Safety Guidelines
To ensure safe operation, always check the power cord for damage before each use; do not operate if damaged. Use a grounded outlet only, matching the voltage specified on the appliance. Avoid using extension cords, but if necessary, choose one rated for the cooker’s wattage.
Never operate the cooker with wet hands. Disconnect immediately if it malfunctions, emits sparks, or smokes. Do not attempt repairs yourself; contact qualified service personnel.
Proper Usage and Handling
Always use the rice cooker on a stable, heat-resistant surface, away from flammable materials. Ensure the inner pot is correctly positioned before operation. Avoid overfilling the cooker, as this can cause steam to escape and potentially scald. Never open the lid during the cooking cycle, as escaping steam is hot.
Use only the provided spatula to avoid damaging the non-stick coating. Allow the cooker to cool completely before cleaning or storing.
Rice Cooker Accessories
Many rice cookers include helpful accessories to expand their functionality. The steam basket is ideal for cooking vegetables, fish, or dumplings alongside your rice, offering a complete meal solution. The included measuring cup ensures accurate rice-to-water ratios for optimal results.

Care for the spatula by handwashing; avoid abrasive cleaners that could damage it. Properly storing these accessories with your rice cooker keeps everything organized and ready for use.
Steam Basket Usage
The steam basket transforms your rice cooker into a versatile multi-cooker. Ensure the basket sits securely above the water level, preventing rice from contaminating the steamed food. Add water to the inner pot before placing the basket; the steam generated cooks the contents.
Cooking times vary depending on the food; check for doneness regularly. Remember to use caution when removing the hot basket and its contents, utilizing oven mitts or tongs.
Measuring Cup and Spatula Care
Proper care extends the life of your included accessories. The measuring cup, typically marked with rice volume, should be hand-washed with mild detergent to avoid damaging markings. Avoid abrasive cleaners. The spatula, often non-stick friendly, also benefits from hand washing; dishwasher use may degrade its coating.
Ensure both are thoroughly dried before storage to prevent mildew. Never use metal utensils, as they can scratch the non-stick inner pot.
Extending the Lifespan of Your Rice Cooker
Maximize your investment by practicing mindful usage. Always unplug the cooker when not in use and store it in a cool, dry place. Avoid dropping or subjecting it to physical shock. Regular cleaning, as detailed in the maintenance section, is crucial.
Prevent cord damage by avoiding sharp bends or wrapping it tightly. Proper storage and avoiding common mistakes will ensure years of reliable performance.
Proper Storage Techniques
Ensure longevity by storing your rice cooker in a clean, dry environment, away from direct sunlight and extreme temperatures. Before storing, confirm the unit is completely cool and dry, especially the inner pot. Avoid stacking heavy items on top, which could cause damage.
If storing for an extended period, consider placing a desiccant packet inside to absorb any residual moisture. Proper cord management prevents kinks and breaks, extending its lifespan.
Avoiding Common Mistakes
Prevent damage by never immersing the main unit in water; only the inner pot is designed for washing. Avoid using abrasive cleaners, as they can scratch the surfaces. Don’t force the lid open during operation – allow the pressure to release naturally.
Overfilling the cooker can cause spills, while using incorrect rice-to-water ratios leads to unsatisfactory results. Regularly check and clean the steam vent to maintain optimal performance and prevent buildup.
Warranty Information
Your rice cooker is protected by a limited warranty against manufacturing defects. This coverage typically spans one to two years from the original purchase date, safeguarding against malfunctions under normal household use. The warranty doesn’t cover damage from misuse, accidents, or unauthorized repairs.
Retain your proof of purchase for warranty claims. Contact customer support for assistance with repairs or replacements, providing details of the issue and your purchase information.
Understanding Your Warranty Coverage
The warranty generally covers defects in materials and workmanship, ensuring your rice cooker functions as intended. It typically excludes normal wear and tear, accidental damage, or alterations. Improper cleaning, commercial use, and voltage inconsistencies void the warranty.
Carefully review the warranty card included with your appliance for specific terms and conditions. Keep your purchase receipt as proof of date and location of purchase for any claims.

Contacting Customer Support
For assistance with your rice cooker, locate the customer support contact information in your instruction manual or on the manufacturer’s website. Most companies offer phone support, email assistance, and frequently asked questions (FAQs) online.
When contacting support, have your model number and purchase date readily available. Clearly describe the issue you’re experiencing, and be prepared to follow troubleshooting steps provided by the representative.